Inks can leave deposits of dried ink inside the print-head. Inks can also settle or even separate (like chocolate milk left in the refrigerator overnight)
These problems can be resolved by following BOTH CLEANING PROCESSES below.
To clean the current, fresh ink out of the print-head:
- Turn printer’s POWER off. Unplug it just to be safe.
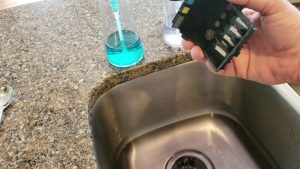
- Start by taking your current ink cartridges (CMYK) out and setting them aside.
- Next, take the print-head out of the printer and run it under VERY HOT tap water for about 15-20 minutes.
There are 2 different ways to do this safely:- Use needle-nose pliers to hold onto the print-head while running the VERY HOT tap water.
- Flip print-head upside down and set in the drain part of your sink and let the VERY HOT tap water run over it.
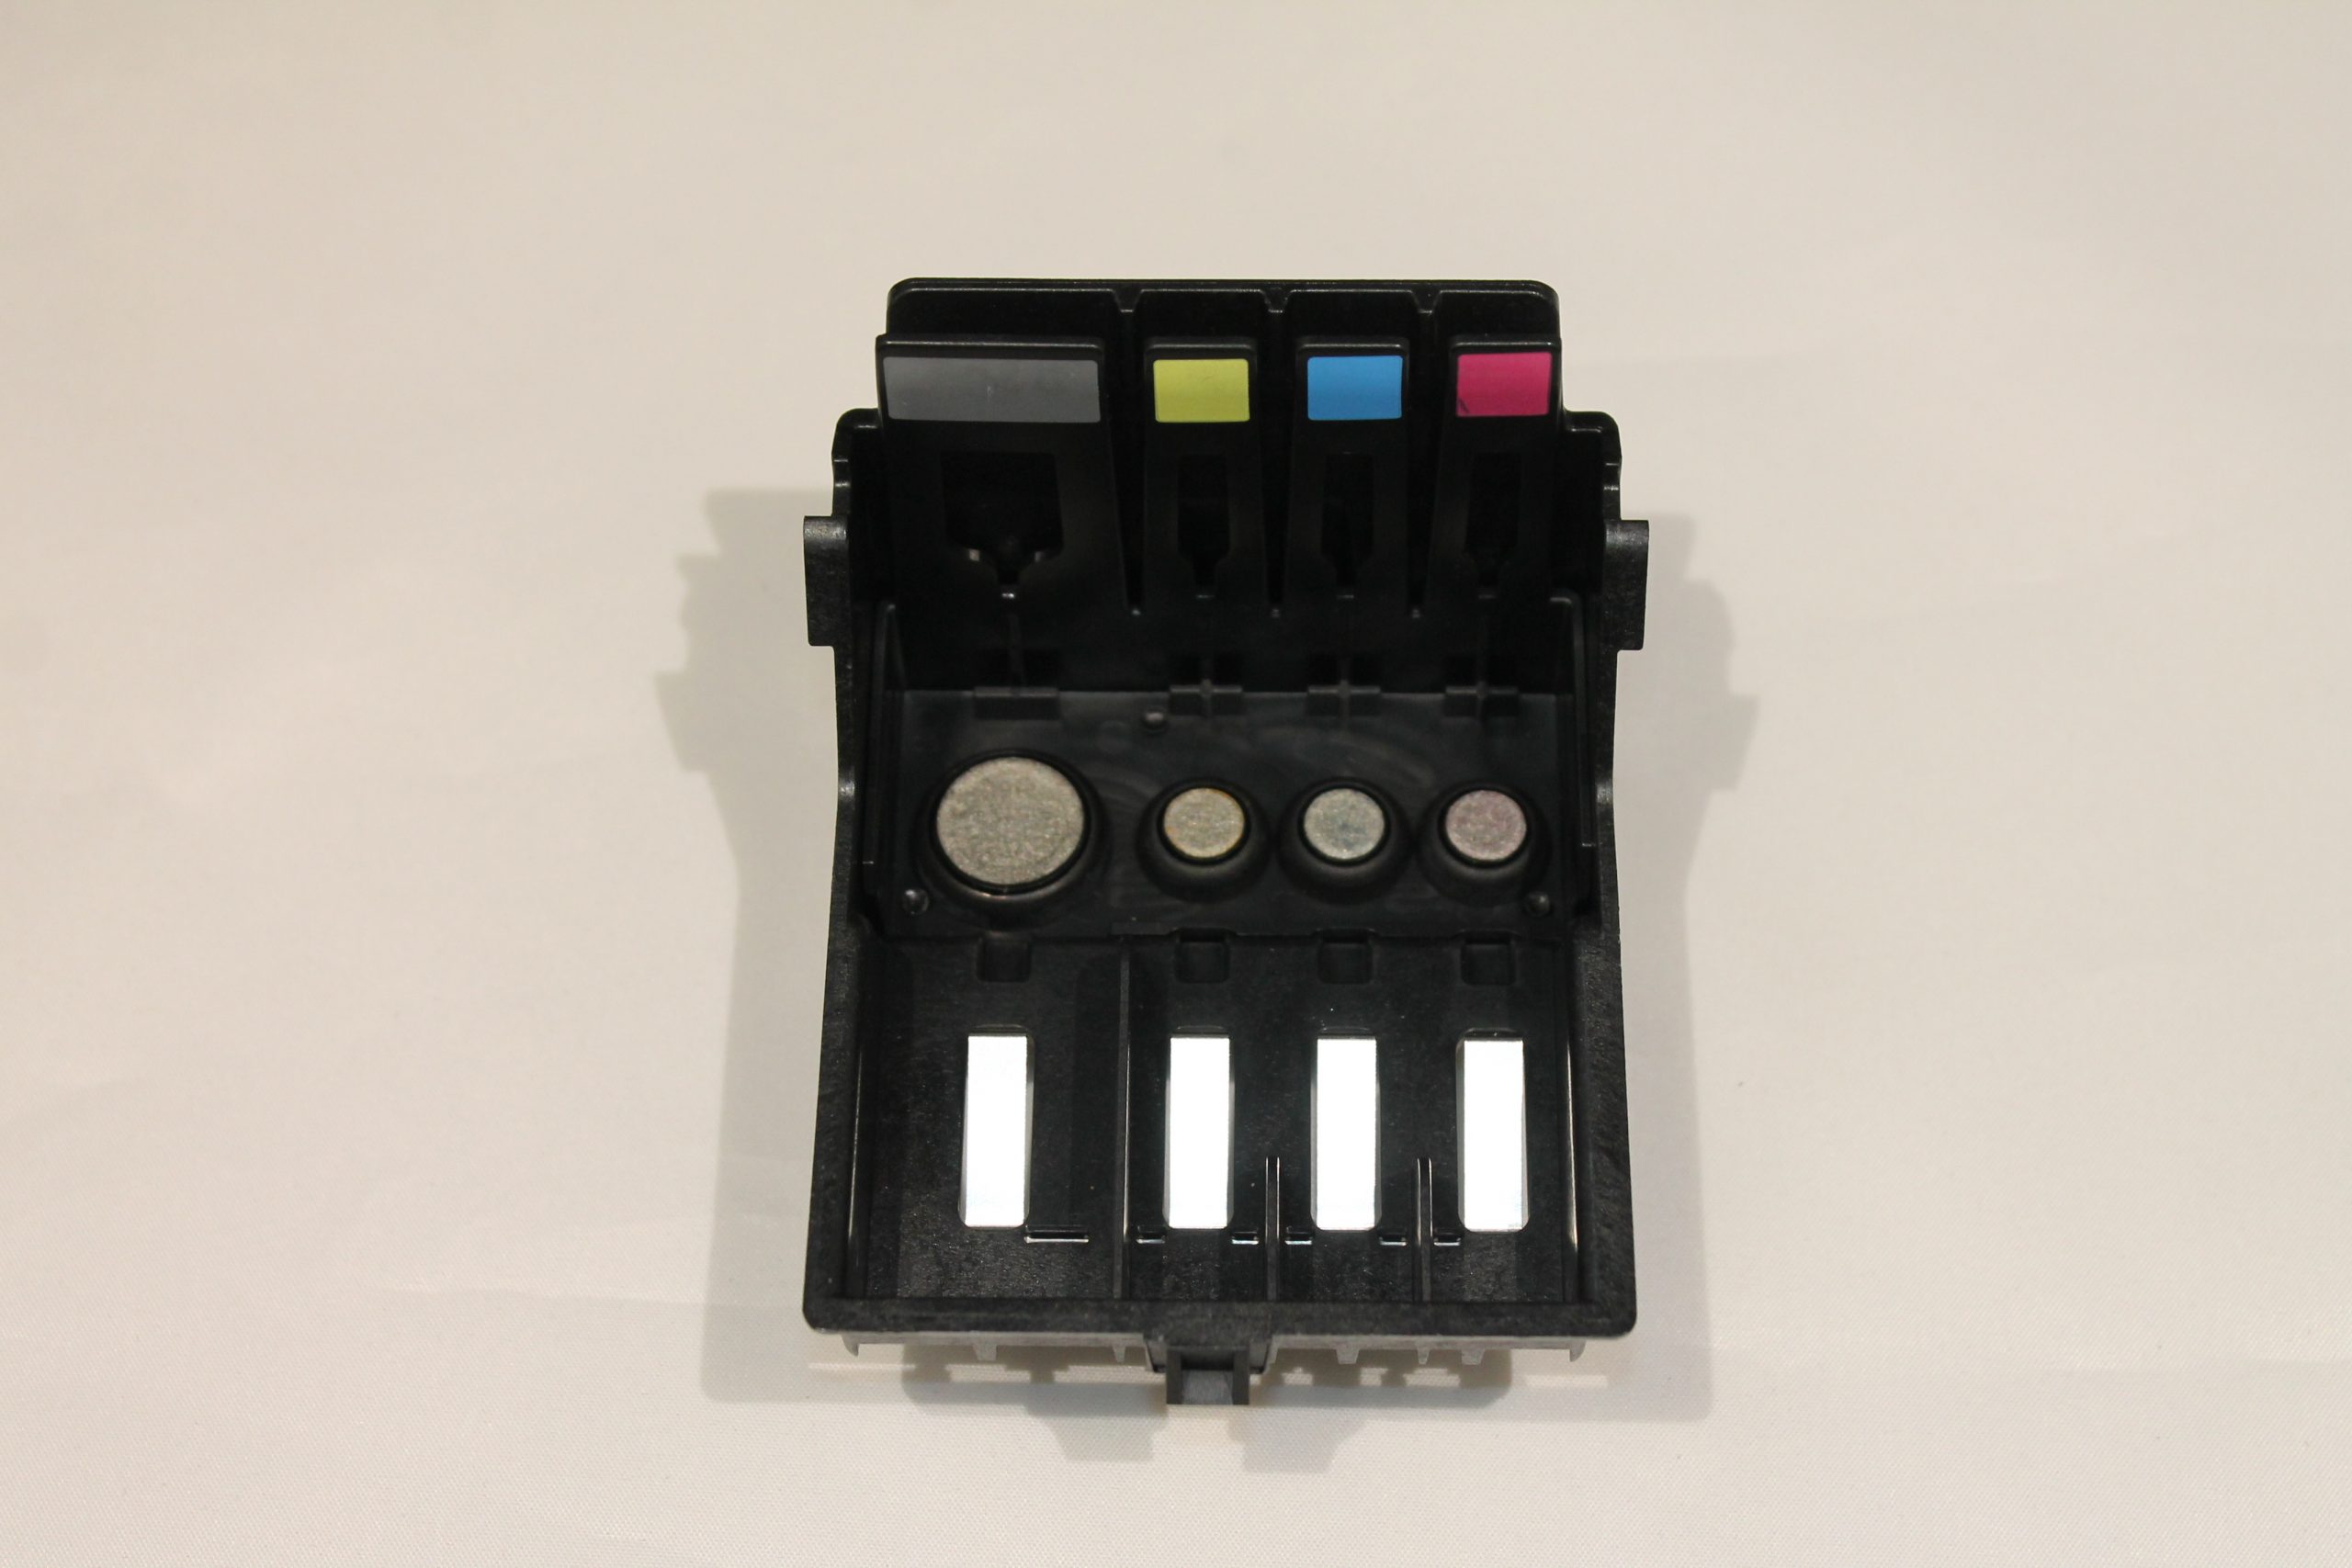
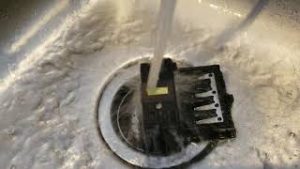
- You’ll need to rinse both the TOP and BOTTOM of the print-head:
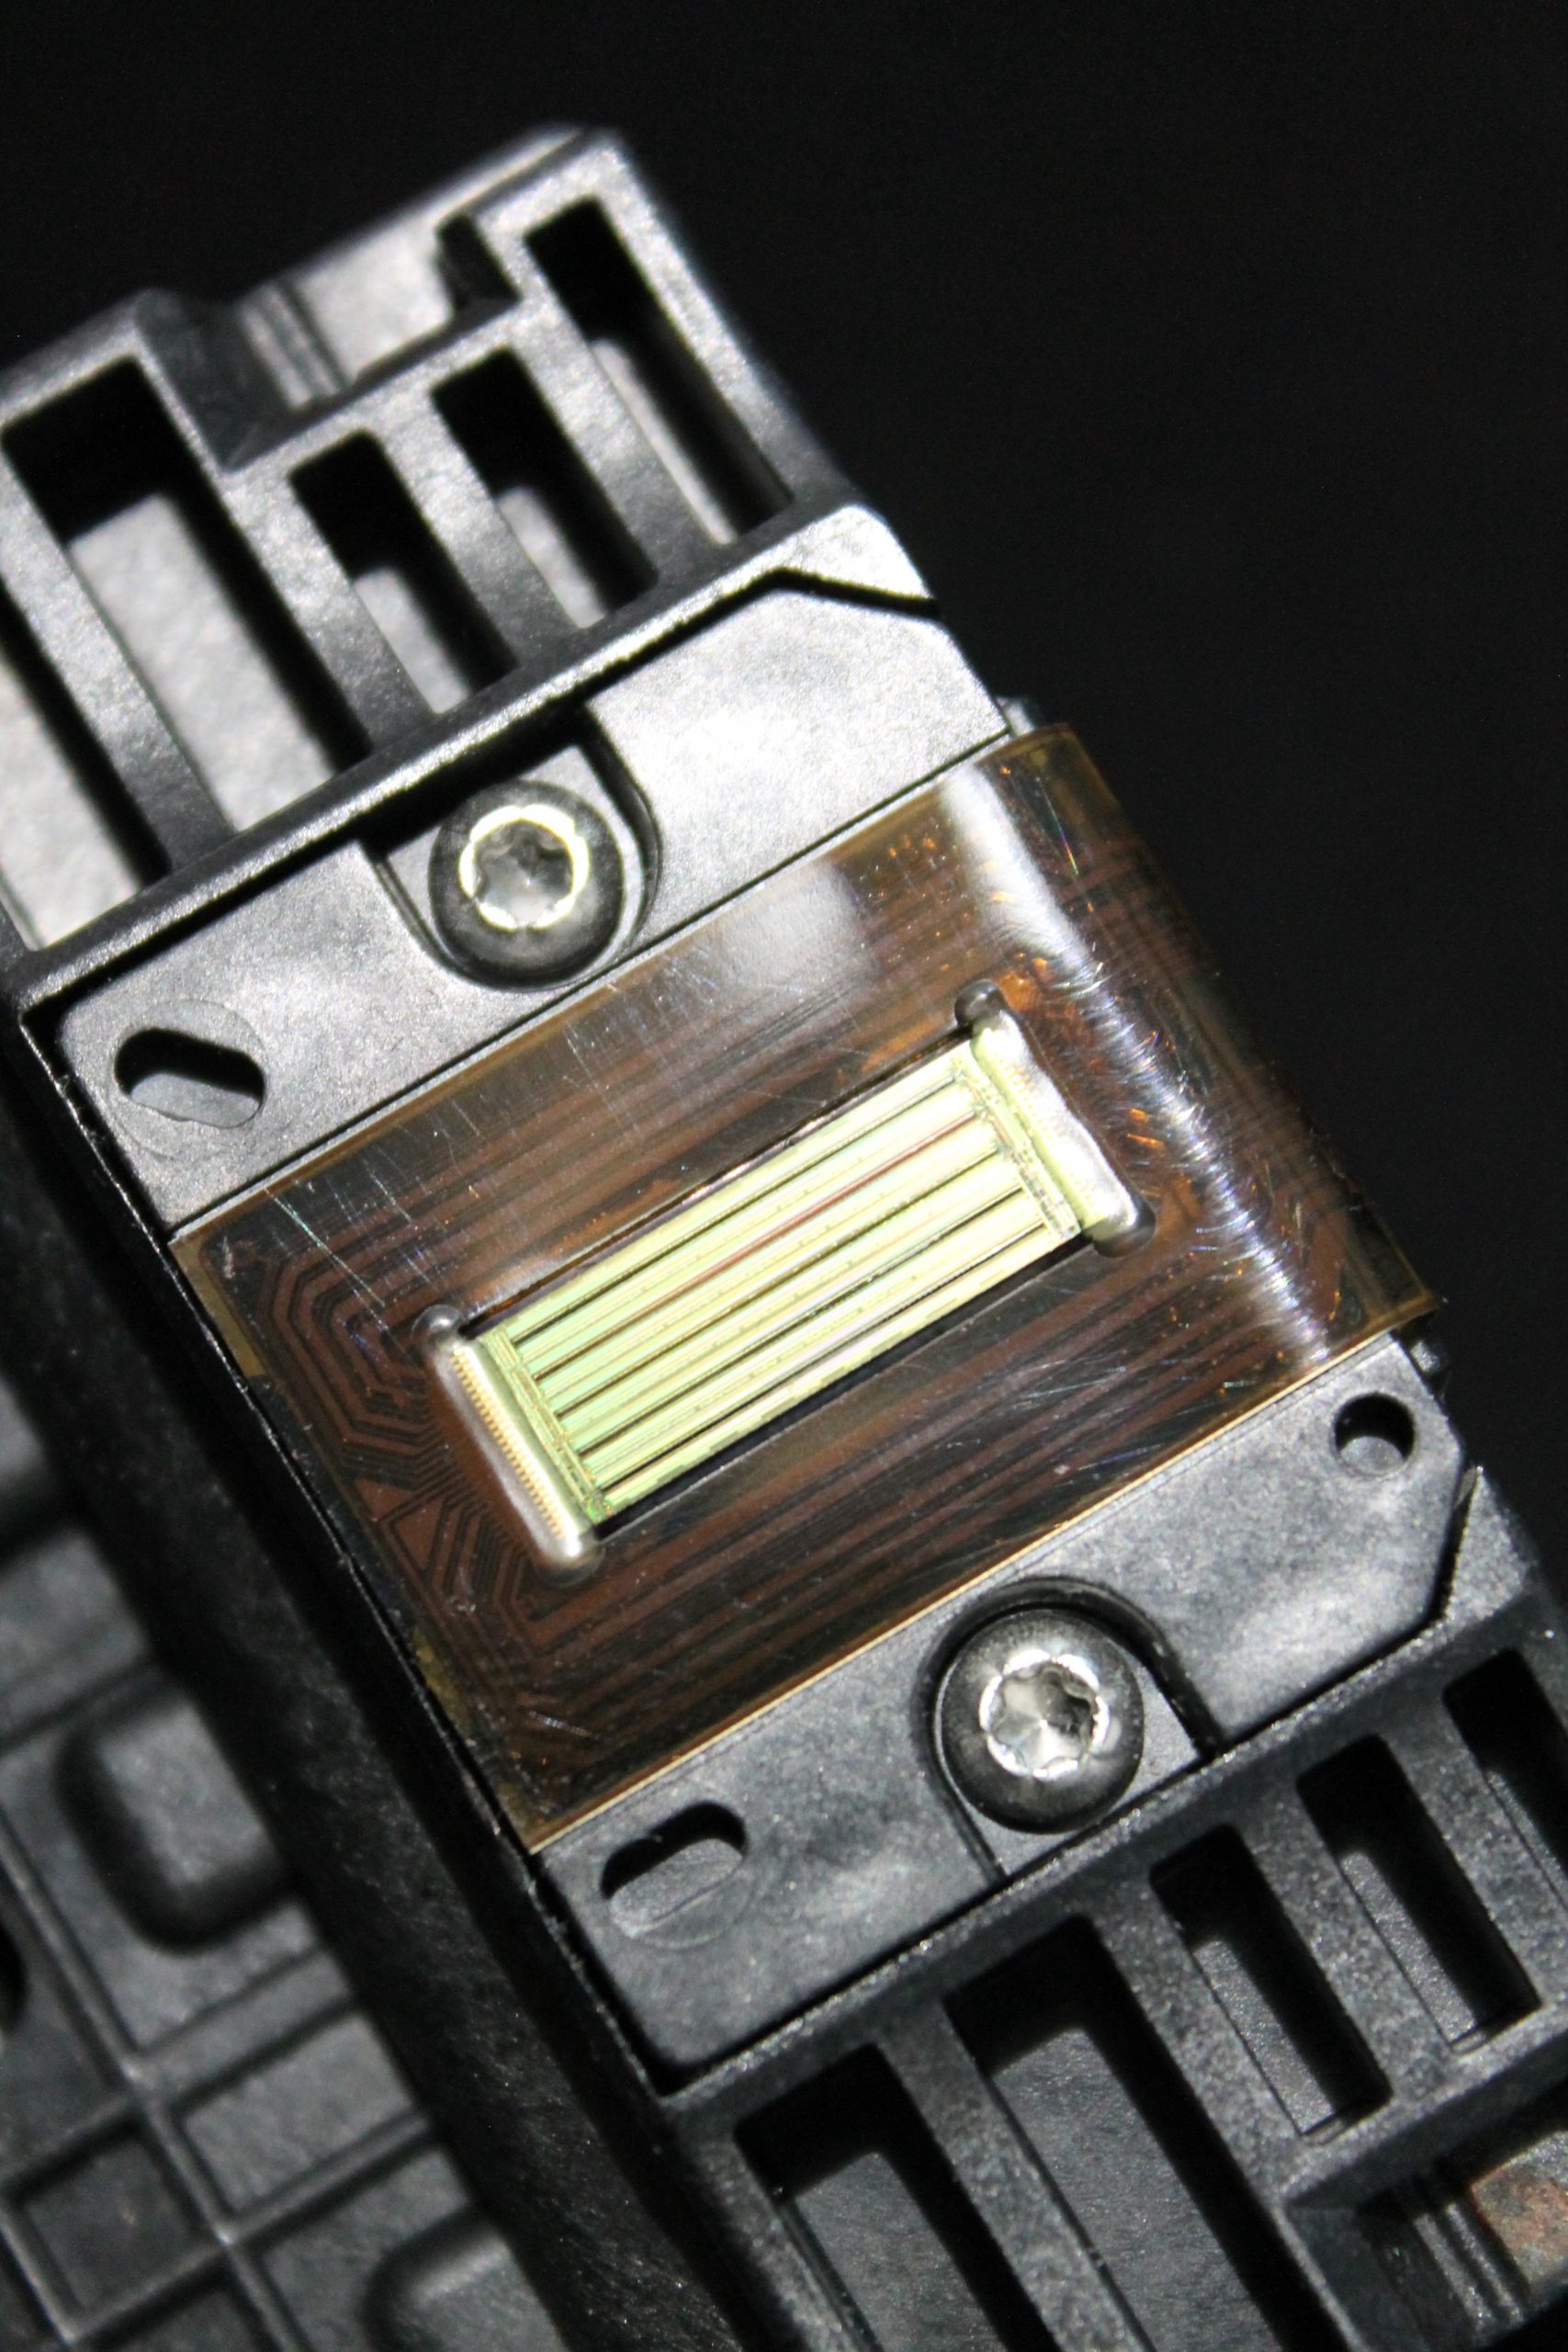
- Rinse both the BOTTOM (outside, those shiny little holes…
- And… rinse the TOP (inside, where cartridge touches those felt-covered ink-ports).
CAUTION: **Be extra careful not to lose those “black rubber grommet washer” things which sit around each of the felt-covered ink-ports.
- Keep rinsing both TOP and BOTTOM until water is mostly 100% clear and almost no ink is seen coming out.
- Lastly, shake off the print-head using the wrist snapping action, like “snapping a toilet”. Get all the water out of the top (felt-covered ink-ports).
STEP ONE of this print-head cleaning process is done. You’ve rinsed out the “wet” ink from inside the print-head. Now, let’s try and get any dried ink out next.
To clean the OLD dried out ink from the print-head:
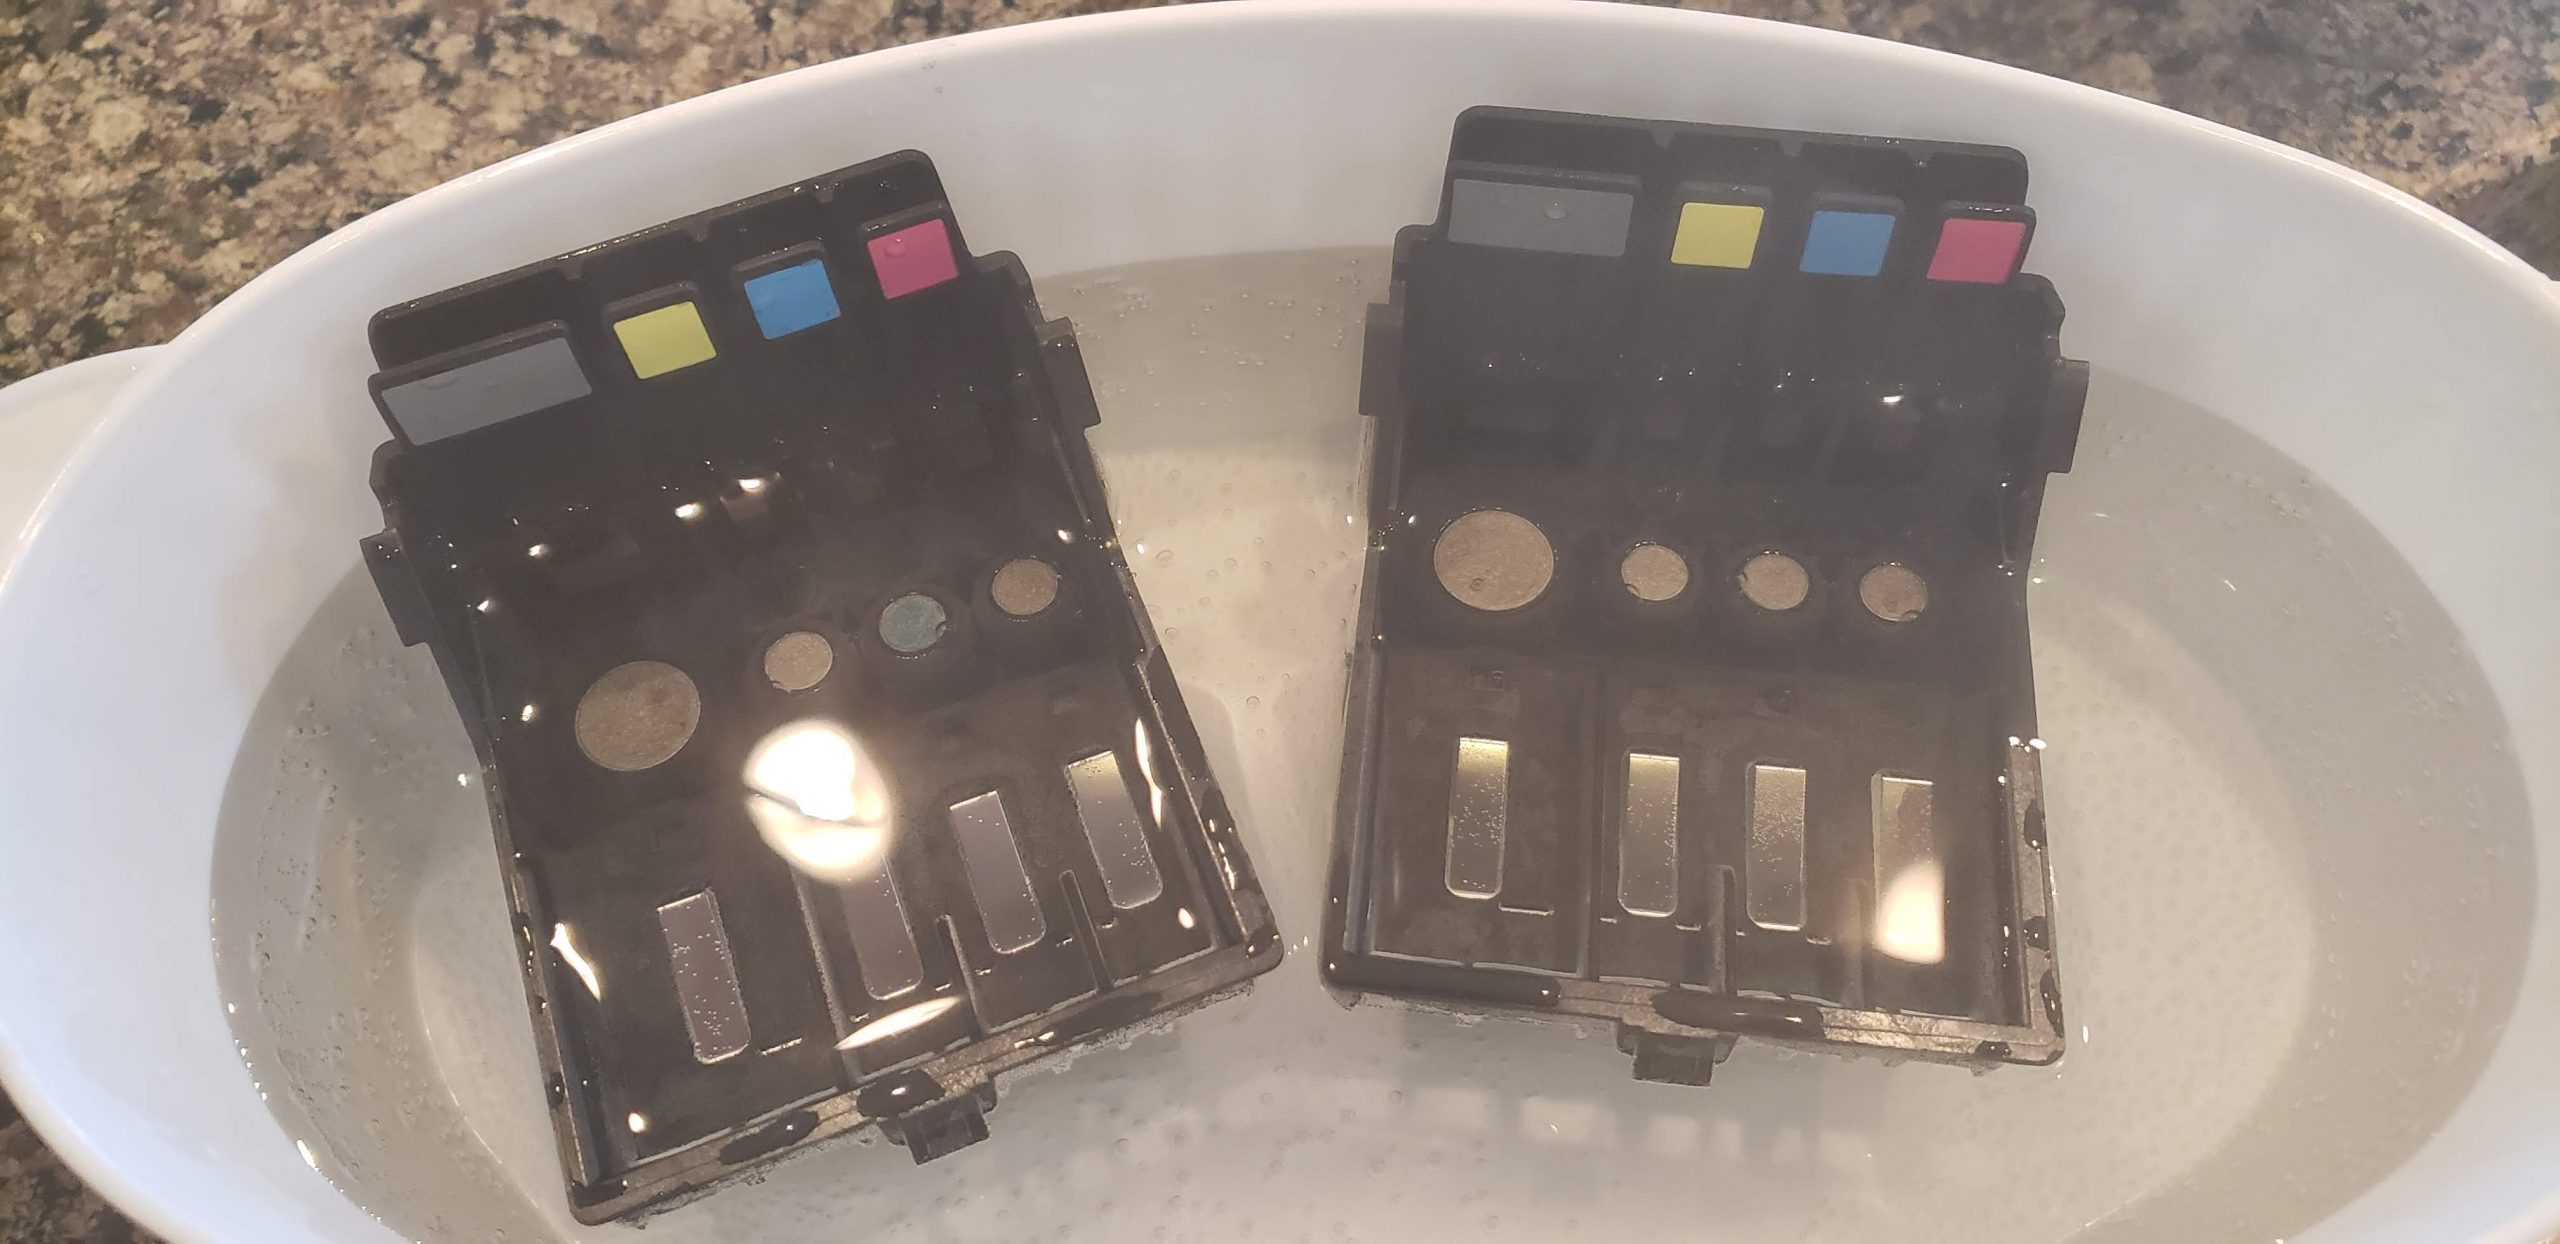
- You will need a glass bowl (or similar) to rotate through this cleaning process step. You’re using Ultra-Hot-Water so a plastic bowl isn’t recommended.
- In a glass measuring cup (or similar), heat about ½ to 1 cup of filtered water (distilled water is best) to boiling point. You can just use a microwave to heat the water.
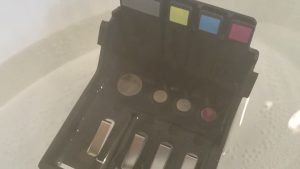
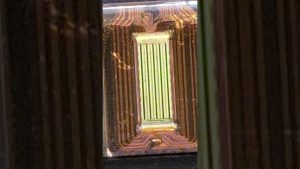
- Place the print-head with those shiny copper ink ports facing down into the bowl.
- Pour the Ultra-Hot-Water over the felt-covered ink-ports. You’ll probably immediately notice ink color coming up and out. NOTE: This is the Dried Ink inside the print-head dissolving.
- The water level should be about 1-2 inches deep where it will cover the felt-covered ink-ports (this is where the ink cartridge normally touches the ports).
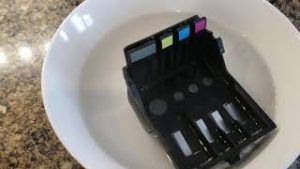
- Soak print-head for 2-3 minutes.
- Remember when you cleaned fresh ink out earlier rinsing with hot tap water to be basically clear? NOW, it should show A LOT more ink coming out. THIS IS YOUR DRIED INK INSIDE THE PRINT-HEAD.
- Swish the print-head around a bit in the Ultra-Hot-Water. Then, shake it off with that same wrist snapping action.
- The microwaved Ultra-Hot-Water cools down rather quickly and becomes much less effective. So, therefore you’ll need to REPEAT this until no more ink appears to be coming out.
Repeat this process of RINSE-SHAKE-RINSE a few more times. This can take 3-9 bowls of boiling water.
- Dry completely – CAREFULLY - by shaking off with the wrist snapping action and soft towel. DO NOT touch those copper print ports on the bottom of the printhead (do not scratch them).
ALSO… be sure to gently dry the copper electrical contacts (tiny circle dots on the side).
DO NOT PUT A WET PRINT-HEAD BACK INTO YOUR PRINTER!!!
NEVER, EVER, EVER SOAK THE PRINT-HEAD FOR MORE THAN A FEW MINUTES. DRY IT IMMEDIATELY AFTER CONTACT WITH WATER.
- At this point the print-head should be completely clean of both day-to-day “wet” ink and stubborn “dried” ink. If you’ve taken care of it, gently and with caution, the print-head can last a very long time.